





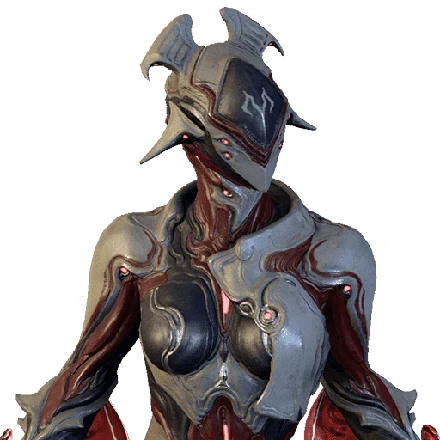
Understand Garuda
Useful when…
- Generating energy by sacrificing health and clearing Status Effects
- Healing Garuda and allies through Blood Altar
- Absorbing damage with Dread Mirror and releasing it as a projectile
- Applying Slash pressure with Seeking Talons
Effects and conditions
Dread Mirror takes life force from an enemy to create a shield that captures damage; it instantly kills significantly weakened enemies, and charging channels captured damage into an explosive projectile. Blood Altar impales an enemy and siphons health for Garuda and allies. Bloodletting sacrifices Garuda's health to generate energy and clear Status Effects. Seeking Talons expands its targeting area while charged; releasing sends talons at targets, and surviving enemies are prone to Slash Status. Her passive increases damage temporarily with each enemy she kills, up to a maximum, but the maximum percentage is unresolved. Her talons are used if no melee weapon is equipped.
Managing the kit
Bloodletting has an explicit health cost, so pair its use with awareness of Garuda's available health; Blood Altar is the described source of healing for her and allies. Dread Mirror offers both damage capture and a charged projectile, while its instant-kill condition is limited to significantly weakened enemies. For Seeking Talons, holding to expand the target area and releasing are separate stages. Garuda lists 270 health, 270 shields, and 315 armor, with Naramon and Vazarin polarities and a Madurai aura polarity.
Alternatives and tradeoffs
Garuda Prime has the same described abilities, 270 health and shields, and 420 armor compared with Garuda's 315; it also lists an additional Madurai polarity. Atlas is described as a high-damage brawler, while Citrine's description emphasizes support. These are different stated roles, not direct replacements for Garuda's health-to-energy conversion and damage capture. Her passive's maximum damage bonus is not numerically resolved, so avoid basing a build estimate on it.
Limitations and tradeoffs
- Bloodletting spends health to produce energy, so using it without regard to current health can create danger.
- Blood Altar's healing requires an impaled enemy to siphon from.
- The passive's maximum damage bonus is unresolved.
Common mistakes to avoid
- Using Bloodletting without accounting for the health it sacrifices.
- Assuming Dread Mirror instantly kills any target rather than significantly weakened enemies.
- Treating the unresolved passive maximum as a known damage percentage.