





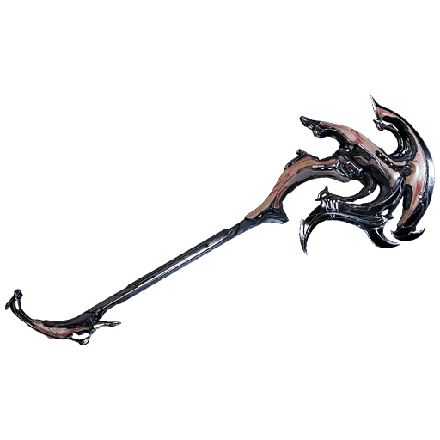
Understand Sarofang
Useful when…
- Pulling lifted enemies together with a Heavy Slam after reaching the required combo multiplier.
- Using Voruna to activate the vortex at the 5× threshold.
- Choosing between its Slash-focused normal attacks and area Slam attacks.
Vortex and attack modes
The vortex requires a Heavy Slam and the required Combo Multiplier: 8× normally or 5× with Voruna. Normal attacks deal 200 listed damage, including 112 Slash, at about 1.17 attacks per second; they have 20% critical chance, a 2× critical multiplier, and 20% status chance. Regular Slam deals 400 Impact in an area with 10% status chance. Heavy Slam deals 600 Blast in an area with 10% status chance. Regular Slam falloff reaches 50% by 8 m; Heavy Slam falloff reaches 30% by 9 m.
Handling
Sarofang has a 1.1 s heavy-attack wind-up, 2.6 m range, 0.6 follow-through, and a 5 s combo duration. One Madurai polarity is listed.
Other melee mechanics
Arca Titron builds an electron charge with successive kills and releases it on Slam attacks. Caustacyst heavy attacks unleash an acid wave and leave corrosive sludge. Masseter is another Heavy Blade; Grendel is immune to staggers and knockdowns during its heavy attacks.
Limitations and tradeoffs
- The vortex requires both a combo threshold and lifted enemies.
- Heavy attacks have a 1.1 s wind-up.
Common mistakes to avoid
- Expecting the vortex below 8× combo, except when Voruna’s 5× threshold applies.
- Assuming the vortex pulls enemies that are not lifted.