





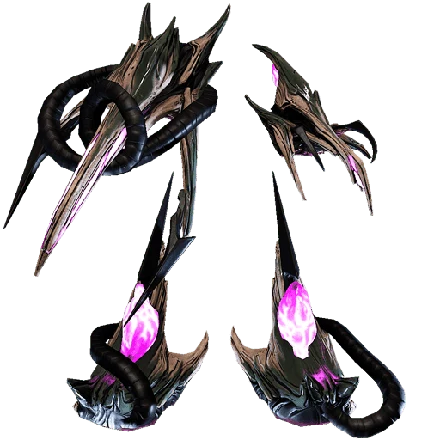
Understand Coda Hirudo
Useful when…
- Use normal attacks when fighting within its listed 1.25 m range.
- Consider it for a critical-focused melee setup, while accounting for its 18% normal-attack status chance.
Attack profile
Normal attacks deal 26.25 Impact, 140 Puncture, and 8.75 Slash damage. They list 34% critical chance, a 3.1× critical multiplier, and 18% status chance. A regular slam deals 350 Impact in an area, and a heavy slam deals 525 Blast; each lists 10% status chance and a different falloff radius. The slam figures are separate attack modes, not the normal attack’s damage profile.
Handling and investment
The listed range is 1.25 m, follow-through is 0.9, combo duration is five seconds, and wind-up is 0.5 seconds. It has one Madurai polarity. The ordinary attack’s 34% critical chance and 3.1× multiplier are its standout listed profile; status chance is 18%. Those figures can inform a critical-oriented build, but do not by themselves determine final damage or a particular mod configuration.
Compare by preferred weapon type
Coda Caustacyst is a scythe with a charged corrosive projectile and pool; Coda Mire is a sword with 18% listed critical chance and 2.4× multiplier; Coda Pathocyst is a glaive described as occasionally spawning enemy-seeking miasmites while in flight or on contact. These are alternatives only if their handling or mechanics suit the player better.
Limitations and tradeoffs
- The listed melee range is short at 1.25 m.
- Normal status chance is 18%; slam attacks list 10%.
- Normal attacks favor Puncture heavily, with comparatively little Slash.
Common mistakes to avoid
- Do not use the heavy-slam damage value as the normal attack’s damage; the modes have different damage types and profiles.
- Do not overlook the 1.25 m listed range when choosing it for close combat.