





Understand Coda Mire
Useful when…
- Use ordinary attacks for mixed physical and Toxin damage with high listed status chance.
- Use regular or heavy slams when area attacks are useful, noting their separate damage and falloff.
Normal and slam attacks
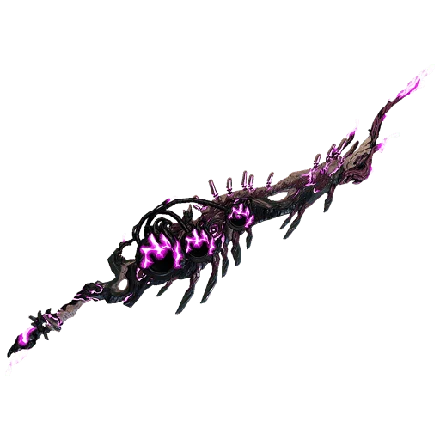
Normal attacks deal 45 Impact, 45 Puncture, 66 Slash, and 79 Toxin damage. They list 18% critical chance, a 2.4× critical multiplier, and 40% status chance. A regular slam deals 470 Toxin damage in an area and lists 31% status chance; a heavy slam deals 705 Toxin damage and also lists 31% status chance. The slam modes have their own area falloff, so their values are not interchangeable with a normal hit.
Handling and build priorities
The sword has a listed attack rate of 1.083, range of 2.7 m, follow-through of 0.6, and a five-second combo duration. Its Vazarin polarity is useful to account for when planning mod slots. The status profile is notable, while its 18% critical chance and 2.4× multiplier can also inform investment choices. These facts support considering status or critical mods according to the intended build; they do not establish a final damage total or a mandatory build.
Other Coda melee styles
Coda Caustacyst is a scythe with a charged corrosive projectile and pool; Coda Hirudo is sparring equipment with a 34% critical chance and 3.1× multiplier on normal attacks; Coda Pathocyst is a thrown glaive whose description calls out occasional enemy-seeking miasmites. Consider those when their distinct attack patterns are the reason for switching.
Limitations and tradeoffs
- The critical chance is 18%, below Hirudo’s comparison-listed 34%.
- Its 0.6 follow-through is lower than Hirudo’s 0.9.
- Innate Toxin and physical damage shares define the listed attack profile; no final modded damage is specified.
Common mistakes to avoid
- Do not confuse the regular slam’s 470 Toxin with the heavy slam’s 705 Toxin.
- Do not treat the listed 40% normal status chance as the slam status chance; both slams list 31%.